
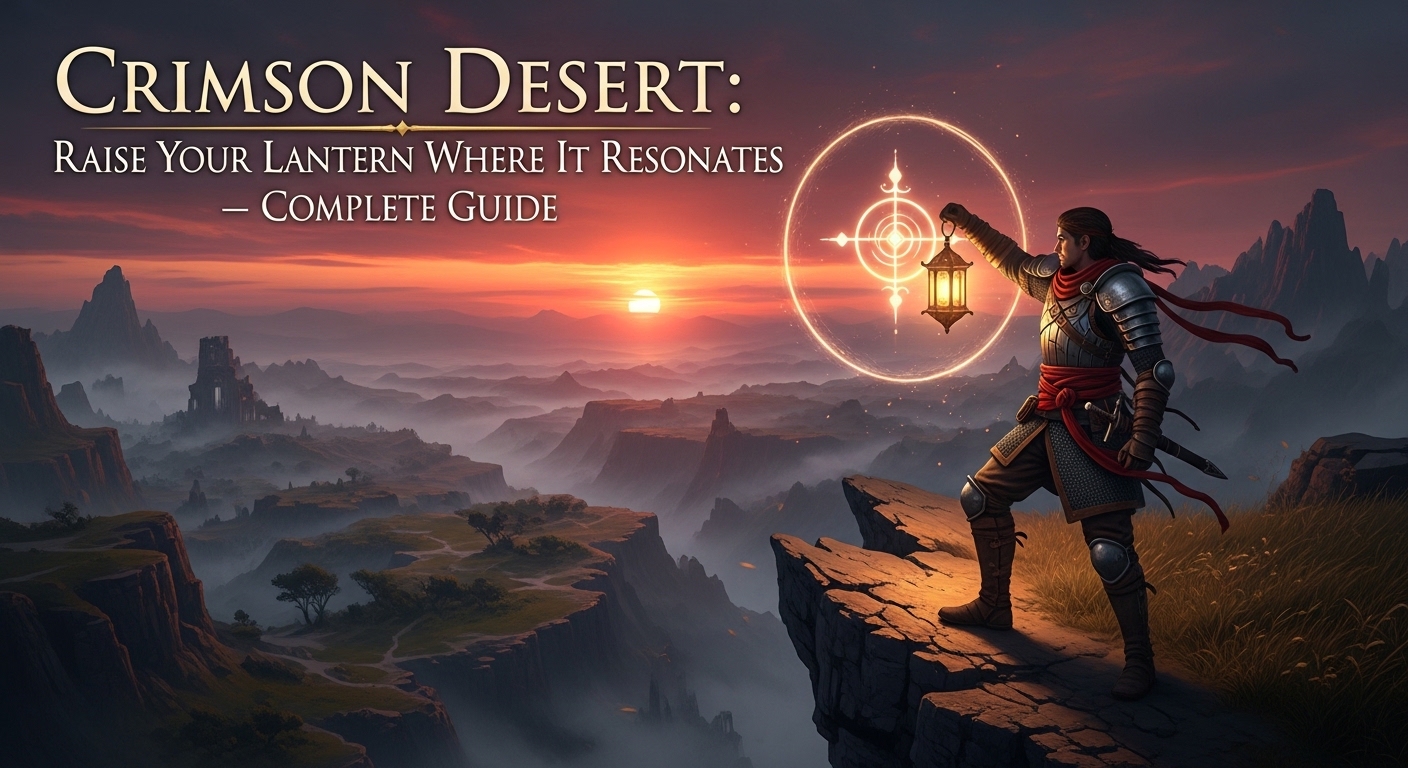
Raise Your Lantern Where It Resonates: If you have been wandering through the dark forests and ancient ruins of Pywel in Crimson Desert, chances are you have seen your lantern suddenly pulse blue — and had absolutely no idea what to do next. You are not alone. The “raise your lantern where it resonates” objective is one of the most frequently searched mechanics in the entire game, and Pearl Abyss gives you almost no explanation for how it actually works. The lantern in Crimson Desert is far more than a torch. It is your key to unlocking Memory Fragments, solving environmental puzzles, activating fast travel shrines, and peeling back the hidden story layers of the world. This complete guide walks you through every lantern mechanic in the game so you never get stuck staring at a blue glow again.
Raise Your Lantern Where It Resonates — Quick Overview
| Feature | Details |
|---|---|
| Game | Crimson Desert |
| Developer | Pearl Abyss |
| Lantern Item | Equipped via Radial Menu |
| How to Raise | L1 (PS5) / LB (Xbox) / Ctrl (PC) |
| First Unlock | Unknown Space quest — Dead of Night prologue |
| Backup Purchase | Provisioner’s Shop — 10 Copper |
| Main Functions | Lighting, Memory Fragments, Puzzles, Fast Travel |
| Blue Glow Means | Memory Fragment is nearby |
| Applies To | Kliff Macduff (primary character) |
What Does “Raise Your Lantern Where It Resonates” Actually Mean?

This is the exact wording the game throws at you during the Trial After Trial quest and several other story missions — and it makes perfect sense once you understand the lantern system, but is almost impossible to figure out from the description alone.
The lantern in Crimson Desert is not just a torch to light up dark caves — it is a multi-purpose exploration tool that interacts with the world in ways that are not immediately obvious. From the moment you unlock it through the Unknown Space quest during the Dead of Night prologue, the lantern becomes as essential as your sword.
When the game tells you to raise your lantern where it resonates, it is asking you to do two specific things:
- Find the exact spot in the environment where your lantern glows blue and pulses — this is the resonance point
- Hold the lantern up at that spot using the raise button until the interaction completes
That’s it. But getting there requires knowing how the lantern mechanics actually work, which the game explains poorly.
Why Does the Lantern Glow Blue?
The blue glow is the game’s way of telling you that a Memory Fragment is nearby. These are hidden pieces of lore and story information embedded in the environment. Some are tied to main quests, while others are optional world-building discoveries.
The moment you see that blue pulse radiating from your lantern, stop moving. You are standing near something important. The resonance gets stronger as you walk closer to the exact location, so treat the blue glow like a compass that gets louder and louder the closer you get to the source.
How to Equip and Raise the Lantern — Full Controls
Before you can raise your lantern where it resonates, you need to have it properly equipped. This is where most players get confused.
Step 1 — Open the Radial Menu
Holding L1 (PS5), LB (Xbox), or Ctrl (Keyboard) makes your character hold the lantern and illuminate the area in front of you. Make sure the lantern is set to On in the equipment radial menu by holding the Left D-Pad on a controller or F2 on the keyboard, then selecting the lantern and choosing the appropriate option.
The sequence is important: open the radial menu first, select and equip the lantern, then use the hold button to actually raise it. Skipping the first step means pressing Ctrl or L1 will activate whatever other tool you have equipped instead.
Step 2 — Equip the Lantern
If you are on a PlayStation 5 or Xbox console, press the left button on the D-Pad to bring up the radial menu. Here you will find all your important items, including the lantern. If you are on PC, the default key to access this menu is F2. Once you are in the radial menu, press X (PS5), A (Xbox), or use your mouse to select it on PC. This will equip the lantern and turn it on.
Once equipped, the lantern attaches automatically to Kliff’s belt — your hands stay free for combat and exploration.
Step 3 — Raise the Lantern to Resonate
When you hold this button, Kliff raises the lantern and focuses its beam in the direction you are looking. This focused mode is essential for solving puzzles, revealing hidden symbols, and reading Memory Fragments.
Now look around slowly. You are searching for the spot where the lantern resonates most strongly — where the blue pulse is at its most intense.
Critical PC Warning
On PC, the Ctrl key can conflict if you have a tool like a pickaxe or shovel equipped. Make sure you switch back to your lantern in the radial menu before trying to raise it.
This catches a huge number of PC players off guard. If pressing Ctrl seems to do nothing useful, check your active item in the radial menu — it is almost certainly a gathering tool rather than the lantern.
How to Read Memory Fragments with the Lantern
Once your lantern is raised and you are standing near a resonance point, here is what happens next and what you need to do.
Finding the Blue Ghost Echoes
With the lantern active, hold the left bumper to keep it raised and slowly scan your surroundings. You are looking for blueish-white blobs drifting through the environment. These are the memory echoes you need to lock onto.
Rotate your view slowly while holding the lantern up. Do not rush this. The blue blobs can be subtle, and moving too fast means you will miss them entirely.
Filling the Learning Bar
Face the blobs directly with your lantern up. A “Learning in Progress” bar will appear on the left side of the screen. Hold your position and let it fill completely. Once it does, a prompt appears on the right side of the screen to read the memory fragment.
Keep the lantern steady. Any movement that breaks your aim on the blue blobs will pause or reset the progress bar. This is the frustrating part — staying still long enough for the bar to fill while maintaining your aim on moving ghost shapes.
Viewing the Memory with the Visione
Press Ctrl (LB on controller) to raise your lantern and look around until you see the fluttering shapes of figures. While aiming at them, a learning bar will build, so hold your lantern in place until that is done. Now press ESC (menu button on controller) to put on the Visione and watch the memory.
The Visione is the golden helmet you pick up during the Where the Light Leads quest in Chapter 2. Without it, you cannot actually view the memory — you can only learn it. Once you have it, the Visione automatically equips when you confirm the prompt after the learning bar fills.
After Patch 1.00.03 — Automatic Visione
Patch 1.00.03 made things easier by changing the Visione to be automatically equipped and played after reading memory fragments with the lantern. You no longer need to manually open the gear menu or inventory to view a newly discovered fragment. quips and plays the memory automatically after the learning bar fills. No manual gear swap needed.
Trial After Trial Quest — The First Time You Raise Your Lantern
The Trial After Trial quest in Chapter 2 is where most players first encounter the “raise your lantern where it resonates” objective, and it is where the confusion usually starts.
Quest Setup
The first few stages of this quest are simple: you speak to Bremer, you bribe a nearby witness who leads you to where the cows are, and you defeat the bandits hanging out at the camp.
After clearing the bandits, the quest tells you to raise your lantern where it resonates. At this point, your lantern should already be glowing or beginning to pulse if you are standing in the right area.
Where to Stand in the Camp
Hold the lantern up just behind the largest dead cow and you should hear a muffled conversation. Keep the lantern steady until you have finished learning. From there, you can hold the start or menu button to equip the Visione and play back the memory fragment you just learned.
The exact spot that catches most players off guard is the positioning near the dead cow rather than in the center of the camp. Walk slowly around the camp area and watch for the pulse to intensify — when it gets strongest, stop and raise the lantern.
Why This Quest Matters
This is how you interact with Memory Fragments you find throughout the world in Crimson Desert, so it is handy to remember. Just watch out for your lantern glowing blue and emitting a pulse, as this indicates a nearby memory to read.
Every future Memory Fragment in the game works exactly like this. The Trial After Trial quest is essentially teaching you a mechanic you will rely on for the entire playthrough.
All the Things Your Lantern Resonates With
Raising your lantern where it resonates is not limited to Memory Fragments. The lantern interacts with multiple systems in Crimson Desert.
Memory Fragments
The most common use. Blue pulse = memory nearby. Raise the lantern, find the ghost blobs, fill the bar, watch the scene. This appears in story quests and optional exploration throughout Pywel.
Fast Travel Shrine Activation
Find a carved shrine on the ground (looks like a miniature city with a large circle in the center). Stand in the circle, equip the lantern, hold L1/LB/Ctrl to raise it, and hold the position until the activation animation plays.
Many of the Abyss Nexus fast travel points in Crimson Desert require you to raise your lantern at them to complete activation. Simply standing on the plate is not always enough — the lantern raise is the resonance that unlocks the point.
Environmental Puzzles and Hidden Symbols
Many puzzles in Crimson Desert rely on light-based interaction, so you need to use your lantern actively instead of treating it as just a light source. When you explore ruins, caves, or hidden areas, you will notice dark corners or objects that react only when illuminated. Focus your lantern on these spots to reveal symbols, clues, or hidden paths that are not visible otherwise.
If you are stuck in a dark ruin and nothing seems interactable, raise your lantern and slowly scan every wall and corner. Glowing symbols, pressure plates, and hidden mechanisms frequently only become visible under direct lantern light.
Story Quest Investigation Points
When you enter the correct room during story investigation quests, your lantern will begin to glow, confirming you have found the target location. Raise your lantern and hold L1/LB to examine the blue ghost figures.
During Chapter 8’s Blood Coronation quest for example, finding Duke Caliburn’s office is guided entirely by the lantern glow. The moment you enter the correct room, the pulse intensifies — confirming you are in the right place.
Blinding Flash — The Advanced Lantern Technique
An alternative detection method is Blinding Flash, a concentrated beam activated by pressing and holding Ctrl + Left Mouse Button on PC, or LB + RB simultaneously on controller. Unlike the standard lantern glow that only works at close range, Blinding Flash can reveal fragment locations from a greater distance and works while mounted on horseback.
This is a game-changer for exploration. Instead of walking slowly through every area hoping your lantern pulses, you can use Blinding Flash from a distance or while on horseback to scan large zones quickly. Blue glints appear at Memory Fragment locations, Abyss Nexus points, and other points of interest — saving enormous amounts of time.
Common Problems & Fixes
The Lantern Raises but Nothing Happens
You are not standing close enough to the resonance point. Walk around the area slowly while watching the lantern. The pulse gets more intense as you get closer. Find the strongest point and raise there.
Pressing the Raise Button Activates a Different Tool
A common issue: I select the lantern (it is on), I exit, I press Ctrl — and my equipped tool (pickaxe, shovel, or axe) fires instead. The fix is straightforward: open the radial menu again, actively select the lantern until it is highlighted as the active item, then exit and press the raise button.
The Learning Bar Fills but No Prompt Appears
On unpatched versions, you need to manually equip the Visione helmet after filling the learning bar. On patched versions (1.00.03 and later), the Visione equips automatically. If you are not seeing the prompt, check your patch version and make sure the Visione is in your inventory.
Lantern Is Not Showing the Blue Pulse Anywhere
Some Memory Fragments are tied to main quests, while others are optional world-building discoveries. If the quest objective tells you to raise your lantern but you see no pulse at all, make sure you are in the correct area of the map. Quest markers can be misleading — use the minimap and walk slowly through the entire objective zone.
Practical Tips for Using the Lantern Like a Pro
- Always keep the lantern equipped during exploration — the passive glow from your belt acts as a constant alert system for nearby Memory Fragments
- When you see a blue pulse, stop completely and scan in a 360-degree circle before raising the lantern — the source can be behind you
- Use Blinding Flash from high ground to survey large areas for Memory Fragments without walking every inch
- In dark dungeons, raise the lantern at every corner and wall section — hidden symbols and mechanisms only appear under direct light
- After patch 1.00.03, confirming the memory prompt is instant — do not wait for manual Visione equip, just confirm the right-side prompt
- Stock up on lanterns at any Provisioner’s Shop for 10 Copper if needed — you cannot lose the main lantern but having backups removes any uncertainty
Pros & Cons of the Lantern System
STRENGTHS
- Deeply integrated into exploration, story, and fast travel systems
- Blue pulse alert system is intuitive once you understand what it means
- Blinding Flash upgrade makes large-area scanning fast and efficient
- Applies to both main quest objectives and optional world discovery
- Patch 1.00.03 improved the Visione auto-equip significantly
WEAKNESSES
- Game barely explains the raise mechanic — most players learn from confusion
- PC Ctrl key conflict with gathering tools is a genuine design oversight
- Learning bar can reset if you move during the fill — frustrating in action-heavy areas
- No visual indicator distinguishing fast travel resonance from Memory Fragment resonance
- Blinding Flash ability is not highlighted as a lantern tool — players often miss it for hours
Expert Opinion
The lantern in Crimson Desert is one of those mechanics that transforms from confusing to brilliant the moment it clicks. Pearl Abyss clearly designed Pywel with layers — the visible surface world you explore on horseback, and the hidden resonance layer underneath that only the lantern can reveal. Once you stop treating the lantern as a light source and start treating it as an active scanner for the world’s hidden history, the entire game opens up. Memory Fragments go from annoying quest objectives to genuine lore highlights. Fast travel shrine activation feels earned rather than arbitrary. Environmental puzzles stop feeling unfair. The lantern is the connective tissue between Crimson Desert’s combat-focused surface and its deeply atmospheric world design. Use it constantly, and the game rewards you constantly.
Frequently Asked Questions (FAQs)
Q1. What does “raise your lantern where it resonates” mean in Crimson Desert? It means standing in the area where your lantern glows blue and pulses — indicating a Memory Fragment or interaction point nearby — then holding L1 (PS5), LB (Xbox), or Ctrl (PC) to raise the lantern and aim at the glowing ghost shapes until the Learning in Progress bar fills completely.
Q2. How do I make my lantern resonate in Crimson Desert? You cannot force resonance — the lantern only glows blue when a Memory Fragment, shrine, or interactive element is genuinely nearby. Walk slowly through the objective area while watching your lantern. The blue pulse intensifies as you approach the correct spot. Once it is at its strongest, stop and raise the lantern.
Q3. Why is my lantern raise not working on PC? The most common cause is a gathering tool like a pickaxe or shovel being active in your quick slot. The Ctrl key activates whichever item is currently selected — not necessarily the lantern. Open the radial menu with F2, select the lantern explicitly, confirm it as active, then try Ctrl again.
Q4. How do I read a Memory Fragment after my lantern glows blue? Raise the lantern with L1/LB/Ctrl, find the blueish-white ghost blobs drifting in the environment, aim at them while keeping the lantern steady, and hold position until the Learning in Progress bar on the left fills completely. A prompt then appears to watch the memory using the Visione helmet automatically.
Q5. What is the Visione helmet and why do I need it? The Visione is a golden helmet obtained during the Where the Light Leads quest in Chapter 2. It is the only item in the game capable of playing back Memory Fragments after your lantern learns them. Without the Visione, you can detect and learn fragments but cannot watch them. Since Patch 1.00.03, it equips automatically after learning.
Q6. Can I use the lantern while mounted on a horse? You cannot use the standard lantern raise while mounted, but you can use Blinding Flash — activated with L1+R1 (PS5), LB+RB (Xbox), or Ctrl+Left Click (PC) — which scans the surrounding area for Memory Fragments and Abyss Nexus points from horseback, making it a great exploration tool while riding.
Q7. How do I use the lantern to activate fast travel points in Crimson Desert? Find a carved stone shrine on the ground with a large circle in the center — this is an Abyss Nexus or Cresset. Stand inside the circle, equip your lantern from the radial menu, hold L1/LB/Ctrl to raise it, and hold your position until the activation animation completes. The point then appears as a blue icon on your map.
Q8. Where is the exact spot to raise the lantern in the Trial After Trial quest? After defeating the bandits in the camp, walk to the area near the largest dead cow and raise your lantern there. Listen for the sound cue of a muffled conversation starting — this confirms you are in the correct spot. Hold the lantern steady until the learning bar fills, then confirm the prompt to watch the memory with the Visione.
Read More: How to Unlock Flame & Frost Magic in Crimson Desert (Complete Guide)

Surya Gupta is a professional blogger and SEO specialist with over five years of experience in digital content creation. He writes about technology, smartphones, games, trading, and trending topics. Through his websites, he aims to provide clear, accurate, and helpful information to readers.